3D Printing Theranostic Ligands
of Gold Nanoparticles (AuNPs)
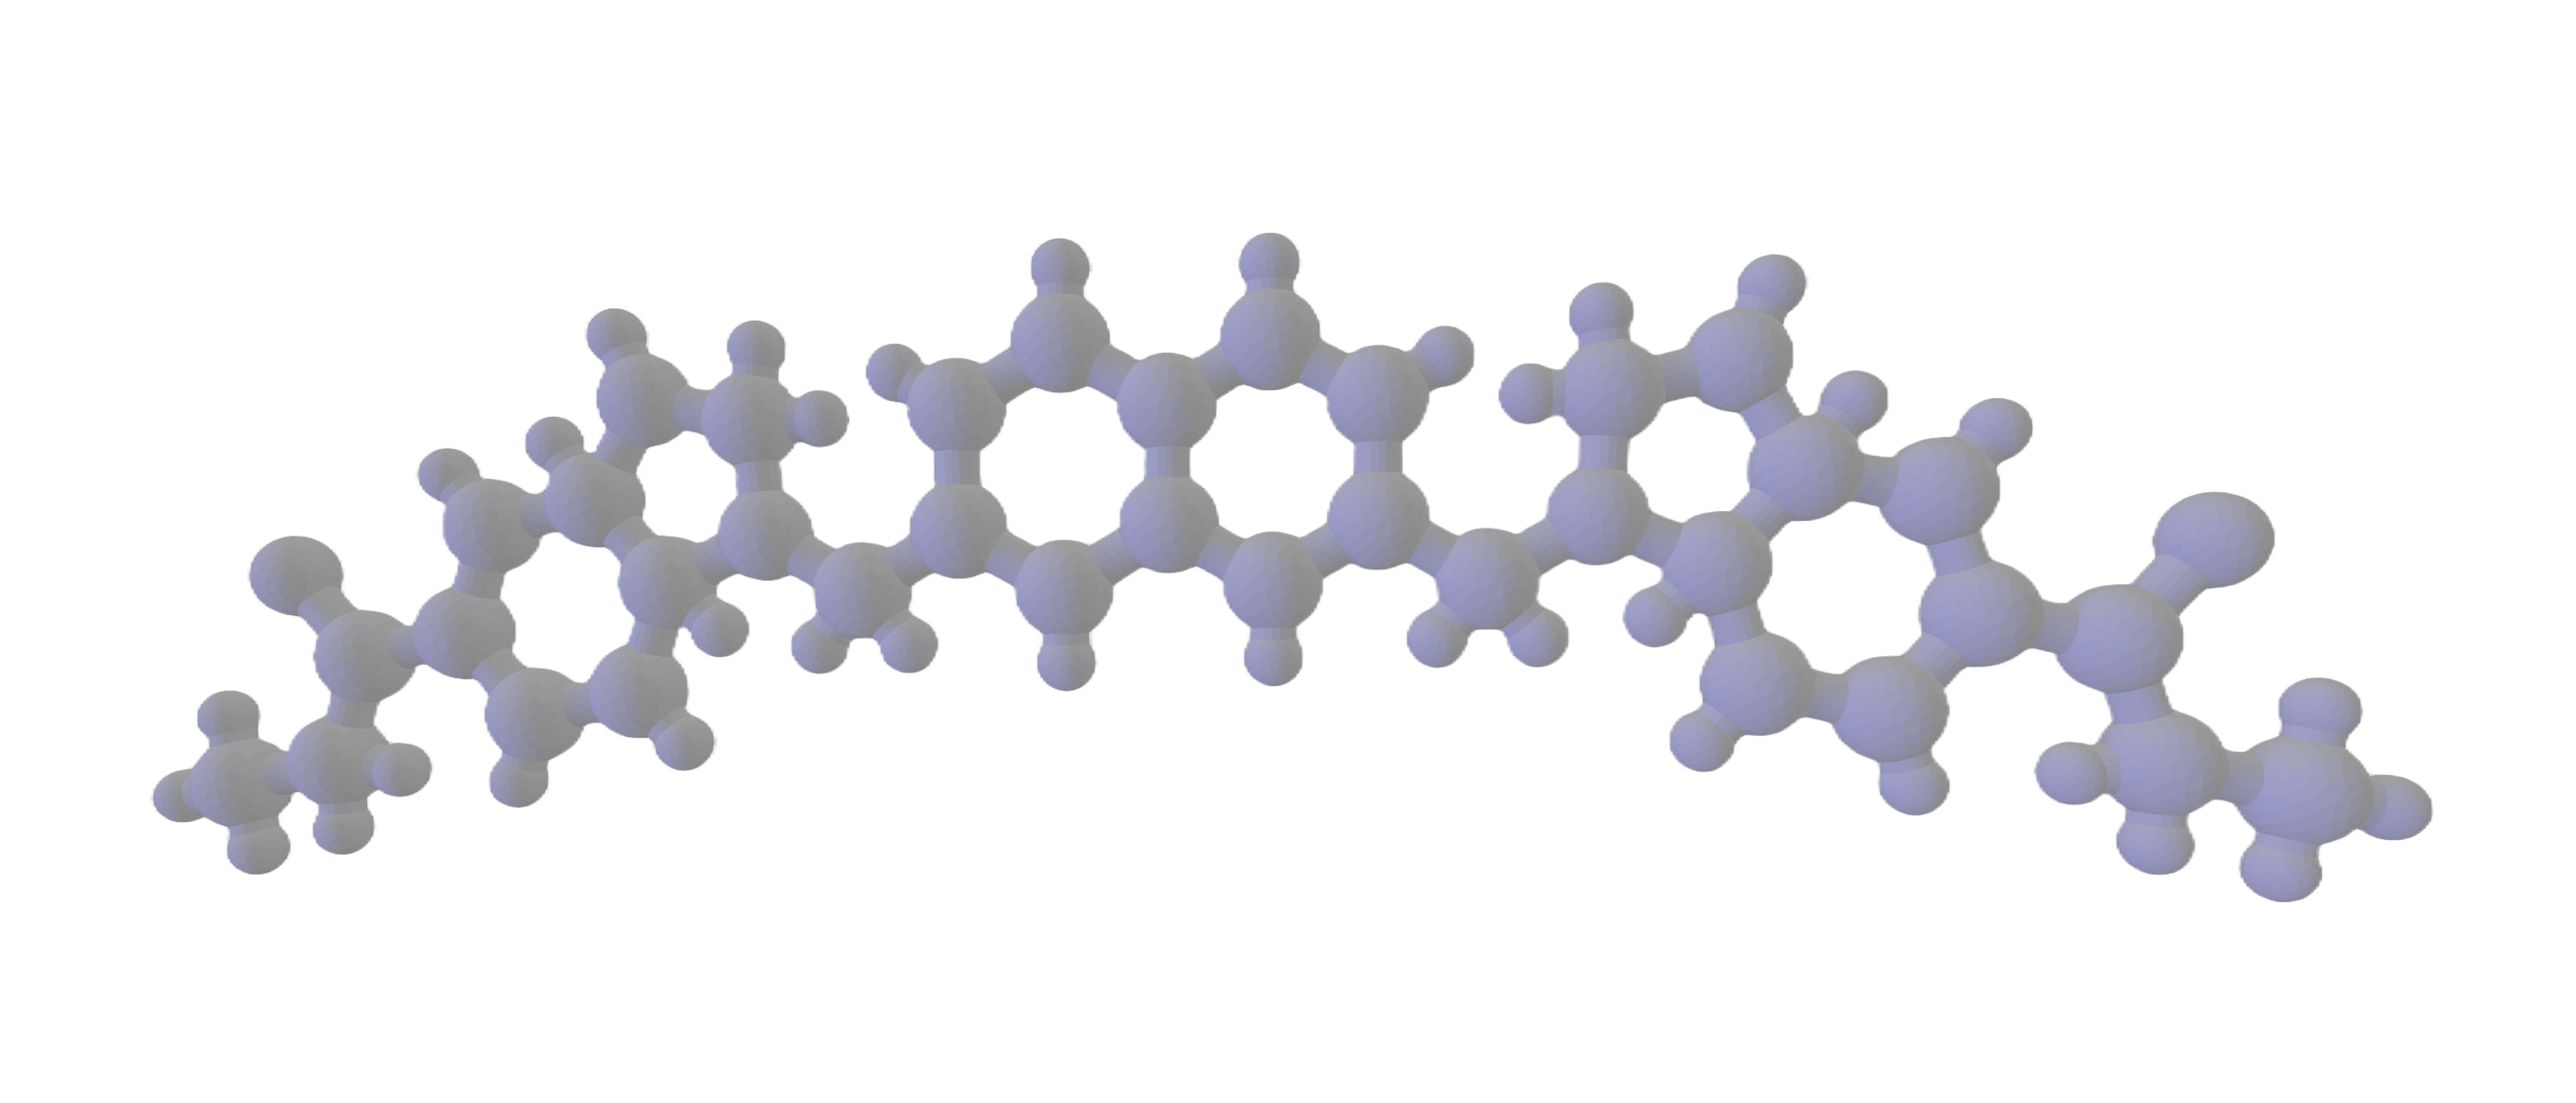 Figure: Ligand Complex Structure
Over the summer, I worked with a research student affiliated with Queen’s University and the Carbon to Metal Coating Institute (C2MC) to create a 3D model of a Theranostic Ligand that can be binded to a central gold core that has huge potential biomedical upside. The molecular structure with both ligands and a gold core is commonly known as Ligand-Protected Gold Nanocluster (LPAuNC). The purpose of this project is to bring awareness on this emerging technology, and its potential to be power tools in cancer therapy.
How does it work?
1. LPAuNC Synthesis: Scientists synthesize gold nanocluster cores (e.g., Au₂₅) by dissolving gold ions with stabilizing ligands, which binds to the gold surface. The gold atoms act as Lewis acids, while the ligands (e.g., thiols) act as Lewis bases, forming strong Au–S covalent bonds that both stabilize the cluster and define its chemical properties.
2. Injection: The LPAuNCs are injected into the bloodstream. They are very small, allowing them to easily circulate the bloodstream (<2 nm)
3. Tumor Targeting: They accumulate on tumors through the ligands that bind to tumor-specific receptors.
4. Cancer Cell Lysis: Through processes determined by the ligand (PTT, PDT, Drug release, etc) the cancer cell is killed. There are very minimal side effects due to the precision of molecules.
Awesome, so how did you create a 3D model?
Before I explain the process, I’d like to mention that this process can be refined and may not be the most efficient way to create a 3D model of a molecule. That being said, this process can be used to create a 3D model of any molecule!
1. Choose your molecule and draw it in MolView. I chose the ligand 1,3-Dibenzyl-benzimidazole, because that was the ligand the researcher was attempting to synthesize.
2. Download the molecule as a MOL file. This file type stores the chemical bonds and structures of the molecule.
3. Import the molecule in UCSF Chimera, which is a molecule visualization software. After importing, select the Hydrogens and hide them. Hydrogen atoms clutter up the 3D model, making it hard to 3D print. Export as an STL file.
4. Import the STL file into a 3D printing slicer. I used PrusaSlicer because the Makerspace at Queen’s uses Prusa 3D printers. For more delicate models, make sure to select “Everywhere” when selecting supports. Export the G-code, and print!